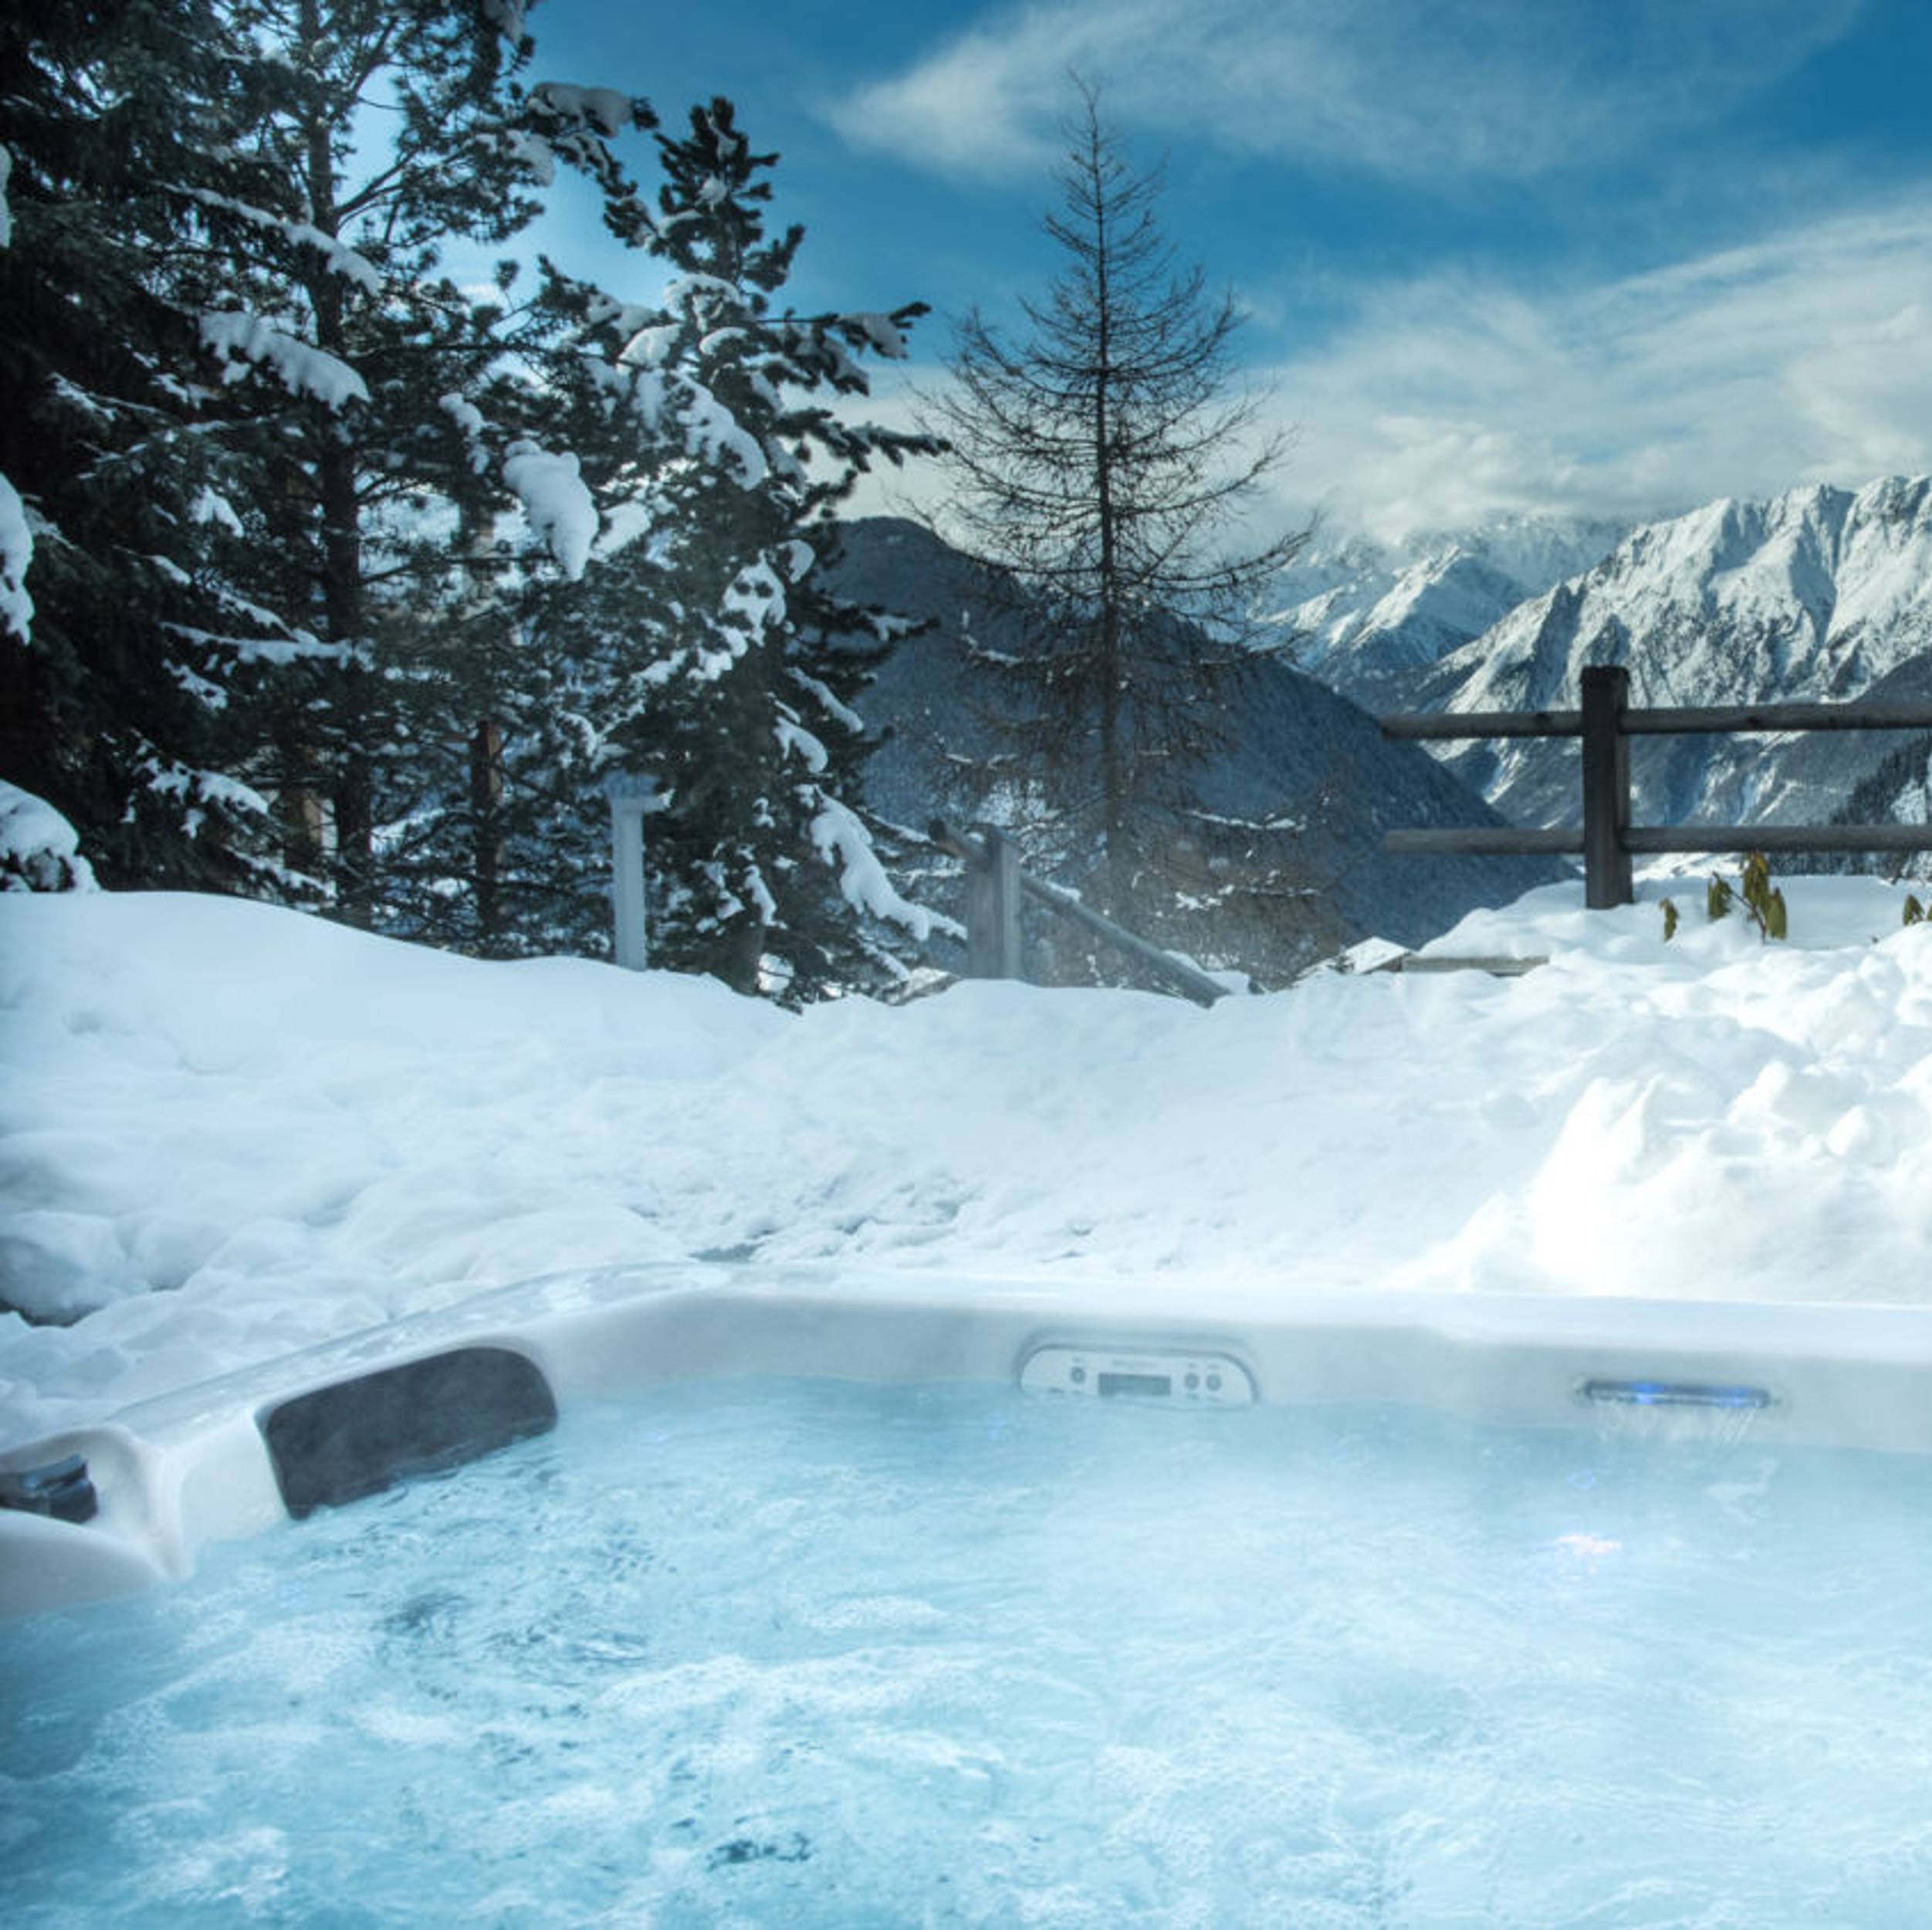
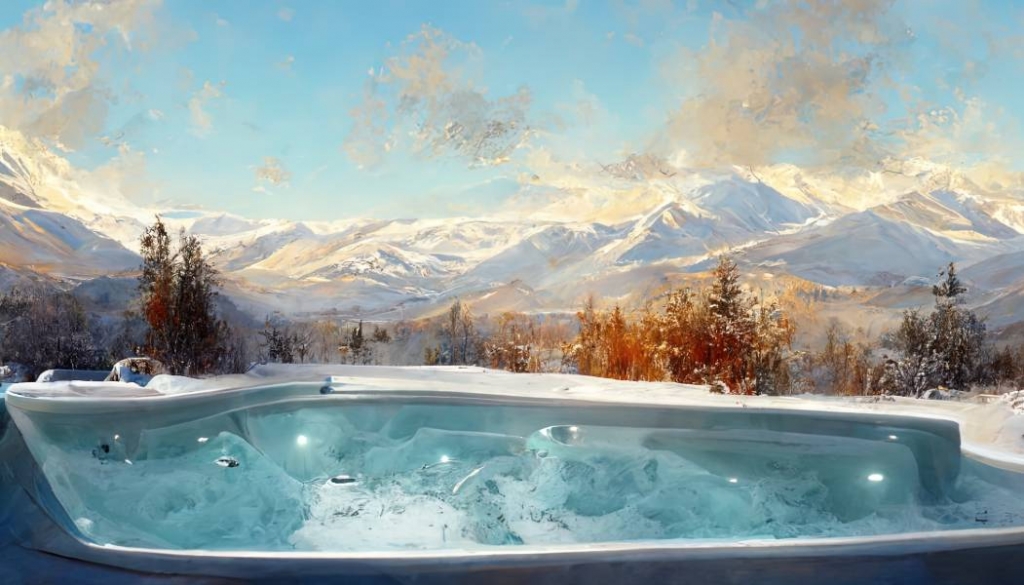
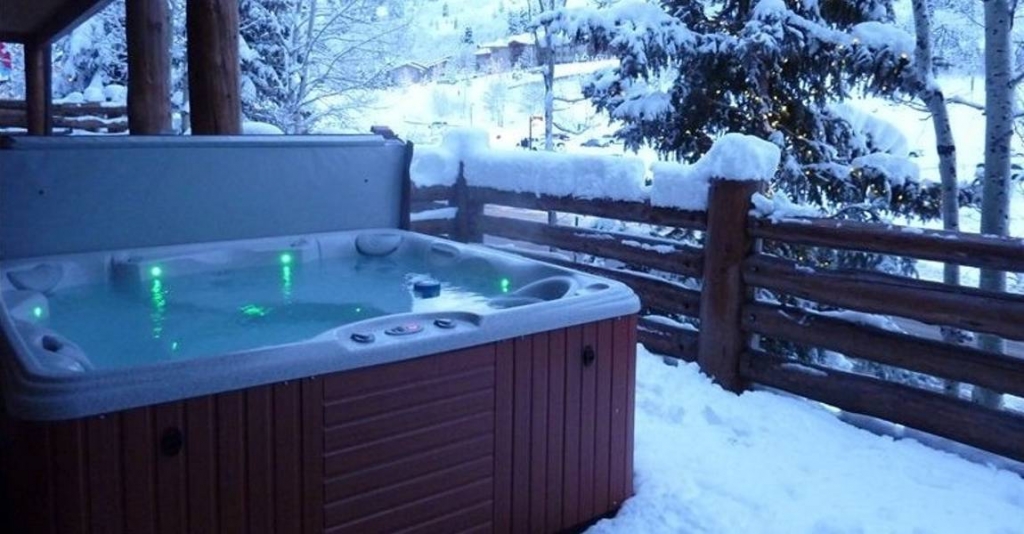
As winter draws nearer, you begin to prepare yourself and your home for its long cold nights, icy wind, frost, and other changes the season brings. If you’re a new tub or swim spa owner and live in areas where it freezes or snows during winter, you might have heard a lot about winterizing a hot tub or swim spas. Keep reading to learn more about How to Winterize your Hot Tub or Swim Spa.
What’s this winterizing all about and why is it important? How do you effectively winterize a hot tub or swim spa, and are there any newbie mistakes to avoid while winterizing? We shall answer all these in this article and guide you through the process so you can winterize your tub all by yourself.
- What Does it Mean to Winterize Your Hot Tub?
- Why is it Important to Winterize?
- Who Needs to Winterize?
- 10 Steps to Winterize a Swim Spa or Hot Tub
- Conclusion
What Does it Mean to Winterize Your Hot Tub?
Winterizing a hot tub means thoroughly draining and preparing it for the winter and safely storing vital components (like pumps) to avoid damage. It’s all about removing water from the tub and preparing it for low temperatures. It’s an essential spa maintenance strategy as we approach the colder months in Denver.
Why is it Important to Winterize?
The main purpose of winterizing a hot tub or swim spa is to prevent the cold winter weather from causing any damage. That’s because, in places where the temperature drops below 32°F, the water in the tub’s pipes freezes. When water solidifies, it expands and thus will need more space. If the water doesn’t find any extra space where it’s constrained, it will automatically break whatever is holding it back and create more space for itself.
The water in your tub does the same thing when you leave it in the pipes during winter. It damages the pipes by causing them to crack, burst, or split. As a result, it’s important to winterize your tub and eliminate all the water in the pipes and everywhere else if you’re going to shut the tub down for the winter to avoid damaging its components.
Who Needs to Winterize?
If you’re a seasonal resident or you often spend your winter somewhere else, you will likely shut down your spa during your time away from home. Leaving the system shut down for such an extended period of time will undoubtedly cause damage to its plumbing lines and other components due to the water becoming ice and expanding.
On the other hand, if your hot-tub or spa will be in use during the winter, its water will remain hot and won’t freeze. In such a case, you don’t need to winterize because your spa wouldn’t have a freezing issue.
That said, those who need to winterize their spas are individuals who live in places that experience freezing temperatures and are planning to shut down their tubs during these cold months. Spas or tubs that will remain on all winter don’t need winterizing, even if areas with the coldest temperatures.
10 Steps to Winterize a Swim Spa or Hot Tub
As explained earlier, winterizing involves draining your tub and removing any water in it to ensure there is no possibility of damage due to frozen water. To effectively drain and clean your hot tub, you need the following:
- Flush Line Product
- Wet/Dry Shop Vacuum with Blower Capability
- Sump Pump/Siphon (optional)
- Soft, Absorbent Cloths or Towels for Drying
- Garden Hose
- Filter Chemical Soak Product
- Spa Cover Cleaner
Step 1: Flush the Lines
The first thing you want to do before draining the water is to remove the filter and add a flush line product to the spa. Doing this helps to clean the pipes and eliminate accumulated dirt and biofilm. This step is essential because draining without flushing the pipes puts them at risk of bacteria and mold growth. You can set your spa at high speed and allow it to circulate for at least thirty minutes, or simply set it at low speed and leave it overnight.
Step 2: Turn Off the Power
Ensure you turn off the power of your hot tub by unplugging it or turning it off at the circuit breaker before draining the water to avoid damaging your pipework and pump. Draining the water while the spa is on can break the pump motor, as the system isn’t designed to operate empty.
Step 3: Drain Out the Water
After the power is switched off, remove the hot tub cover and drain the water using a garden hose or a sump pump. While a garden hose is a good option, sump pumps produce the best results in terms of draining water from spas. Sump pumps are able to eliminate water from tubs efficiently since they remove water from difficult spots like the footwell and seats, leaving zero chance for bacteria or mold growth. Interestingly, sump pumps are also quicker (around 10 minutes) than garden hoses, so we recommend you use them to drain the water unless the only available option is a garden hose.
You can drain the water to your driveway, sewer system, or lawn, making sure that your desired spot can handle the water. You’d be releasing around 400 gallons of water as you drain, so you want to avoid draining during a storm due to the environmental danger it poses.
If you’re using a garden hose:
- Locate a drain plug at the base or in the corner of your hot tub
- At the control pack of your swim spa or hot tub, you should see a drain cap, remove the cap.
- Tightly connect a garden hose
- Look to see if your tub has an auxiliary plug. If you find one, use it to remove any water from the plumbing system
- Direct the hose’s open end to where you choose to drain to
- Open the ball valve and start draining the water
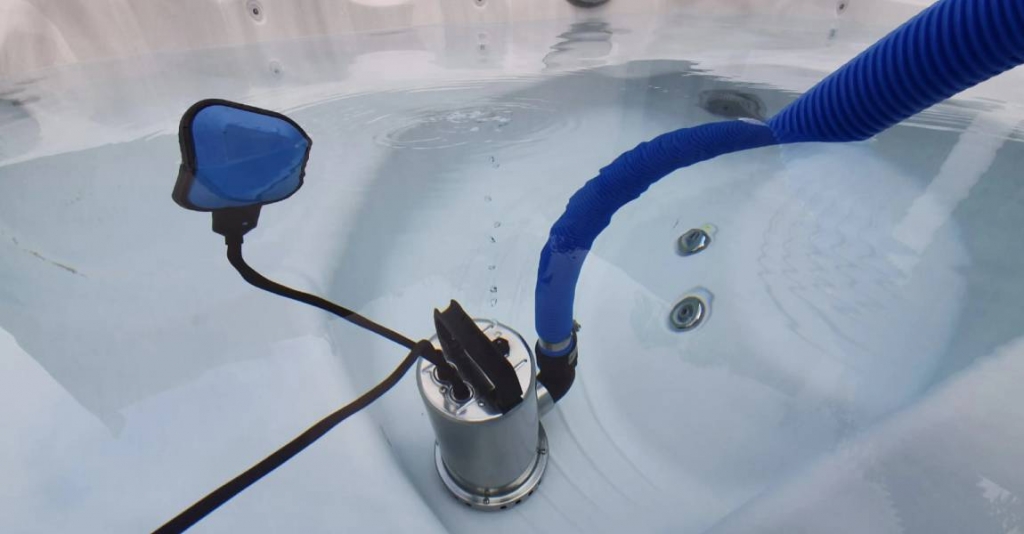
If you’re using a sump pump:
- Connect a garden hose to your sump pump
- Place the sump pump at the deepest place in your swim spa
- Direct the hose’s open end to where you choose to drain to
- Turn the pump on and start draining
Step 4: Turn off the Heater and Turn on the Blower
Next, ensure the heater is turned off to avoid damaging your tub. Replace the cover, turn on your power, and activate the blower. Do this for around 30 seconds to eliminate any remaining water inside. Once done, turn off the tub’s blower, turn off the power, and remove the cover again.
Step 5: Soak the Filter in Chemicals
Soak the filters you removed in step one in a good cleaning solution for around 1 hour, then rinse and allow them to dry. Doing this eliminates all organic contaminants and bacteria so that you can safely winterize. Plus, your filter will maintain its top performance after winter if it’s cleaned properly. If not properly cleaned, the filters will attract dirt before the winter is over and may transfer the dirt to the new water after winter.
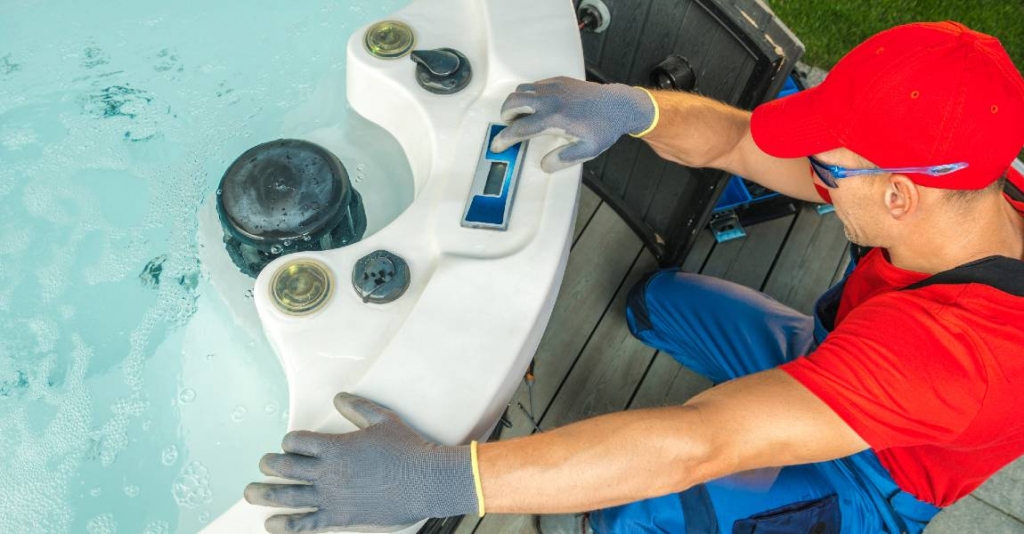
Step 6: Loosen the Fittings on the Pump and Heater
Locate your tub’s pump and heater and loosen the fittings. The fittings connect the heater and pump to the spa’s pipework, and some water may have accumulated in the system while you were pumping the water. Loosen the fittings and use a shop vac to remove any remaining water in the system. It’s a good idea to leave the fittings open throughout winter so if by any chance there’s still some water left; it will be able to expand without causing any damage.
Step 7: Remove Water From Jet Pipes
While you have drained most of the water, there will still be some water in the jet piping, tub shell, and some hard-to-reach places that you should clear. Open your jet pipes and insert the hose of your wet shop vacuum to blow them and remove any water that’s left inside. Do this at least twice to be sure you’ve eliminated the water from any air channels.
Step 8: Clean the Shell
Next up, you clean the shell using a non-foaming, pH-balanced shell cleaner. Gently apply the cleaner and use a soft, absorbent cloth or towel to clean the shell. Now that your tub shell is clean and water-free, you can rest assured that it wouldn’t be a home for bacteria or mold.
Step 9: Replace the Spa Cover
Make sure that your system is completely dry, then replace the spa cover. You can allow some time for the tub’s plumbing lines to air-dry before covering just to be sure you’ve done a perfect job. Also, make sure that you clean the cover with a cover cleaner and keep it secure, as winter storms wreak havoc with your cover. A secure cover prevents living creatures from accessing your hot tub.
Step 10: Use a Non-Toxic Antifreeze Solution
Some people are against using antifreeze because it can be hard to remove from your pipes, its benefits outweigh the challenges. Unless you’re an expert at winterizing tubs, you probably will not be able to remove all the water. The antifreeze helps to prevent the remaining water from causing leaks in your pipes.
When choosing antifreeze, simply choose a non-toxic product to ensure that even while the chemical isn’t completely out of your tub, it wouldn’t cause any harm.
Conclusion
Finally, there’s one vital mistake to avoid if you’ve decided to winterize your swim spa or tub in the winter, and that’s waiting until winter to take action. It’s not a good practice to wait until winter arrives before taking action because some water might have frozen in your tub already, so winterizing at that time might not be as effective as you expected. Hence, the chances of finding leaks after winter are higher.
For effective spa maintenance, you want to do the job before winter arrives and follow the above-listed steps to do it correctly. The owner’s manual may also come in handy, so have a look as there may be some noteworthy specifications.
Swim Spas Denver professionals have over twenty years of experience and can help you make the right choice. Contact us to learn more and to set up a consultation.